embossed-or-debossed

Embossed or Debossed

Posted in: Opinion

Embossed or Debossed? A guide to which option is right for you

In our guide to print finishing, we touch briefly on embossing and debossing, as a way to create a unique and memorable design for your product packaging. Read on to learn more about embossing and debossing, and how they can help you create a lasting impression.

boss: slang

Excellent, outstanding, awesome

Embossing, and its opposite number, debossing, bring a new dimension to print… literally. Anyone handling print that has been ‘bossed literally feels the result, making their experience tactile, and interesting.

Embossing is a process that creates raised images or text on a material. Debossing is the opposite, creating a depression of an image or text.

Boss about

The term embossing refers to a process that raises parts of a page, providing emphasis and texture to an otherwise flat surface.

The substrate material (paper, or cardboard for example) is pressed into a female die with a design etched into it. Underneath the substrate is a male version of the same design: the two dies are pushed together under heat and pressure. This leaves a mirrored indentation on the reverse side of the substrate material.

Debossing – or letterpress printing as it has been known since the early 15th century – is one of the oldest printing techniques known. This process creates the opposite effect to embossing. Certain portions of the page are depressed to create an indent.

Traditionally, the letterpress printing technique was used only to apply ink on a page as a form of relief printing for text. Modern technology allows design elements to be pressed directly into paper substrate. For debossing, the substrate is simply turned upside down and pushed below the surface. If the stock is thick enough, there will be no imprint on the reverse side of the paper.

Logos are commonly debossed, as are designs on leather goods, and high-end publications and packaging.

In both the embossing and debossing processes, a die is created. The die comprises two metal plates (a front, and a back, also called the counterdie) that sandwich the paper. Printers create die by either hand-tooling, machine-routering, or photo-etching the image to be embossed onto the metal plates.

Next, the print material is placed between the front and back of the die. If an image embossed, the female die will go on top of the stock and male die will go on the bottom as the counterdie. When debossing, the male die goes on top and the female die will serve as the counter.

Then, using both heat and pressure, the die presses into the paper and create a relief of the image. In both techniques, die can be single-level – your image is raised to a single one consistent height or depth; or multi-level, which creates a more complex emboss or deboss.

If there is no ink or foil – the image is simply raised off or depressed into the paper, the process is called a blind emboss/deboss. A registered emboss/deboss or a combination emboss/deboss combines the technique with ink or foil, or even another image.
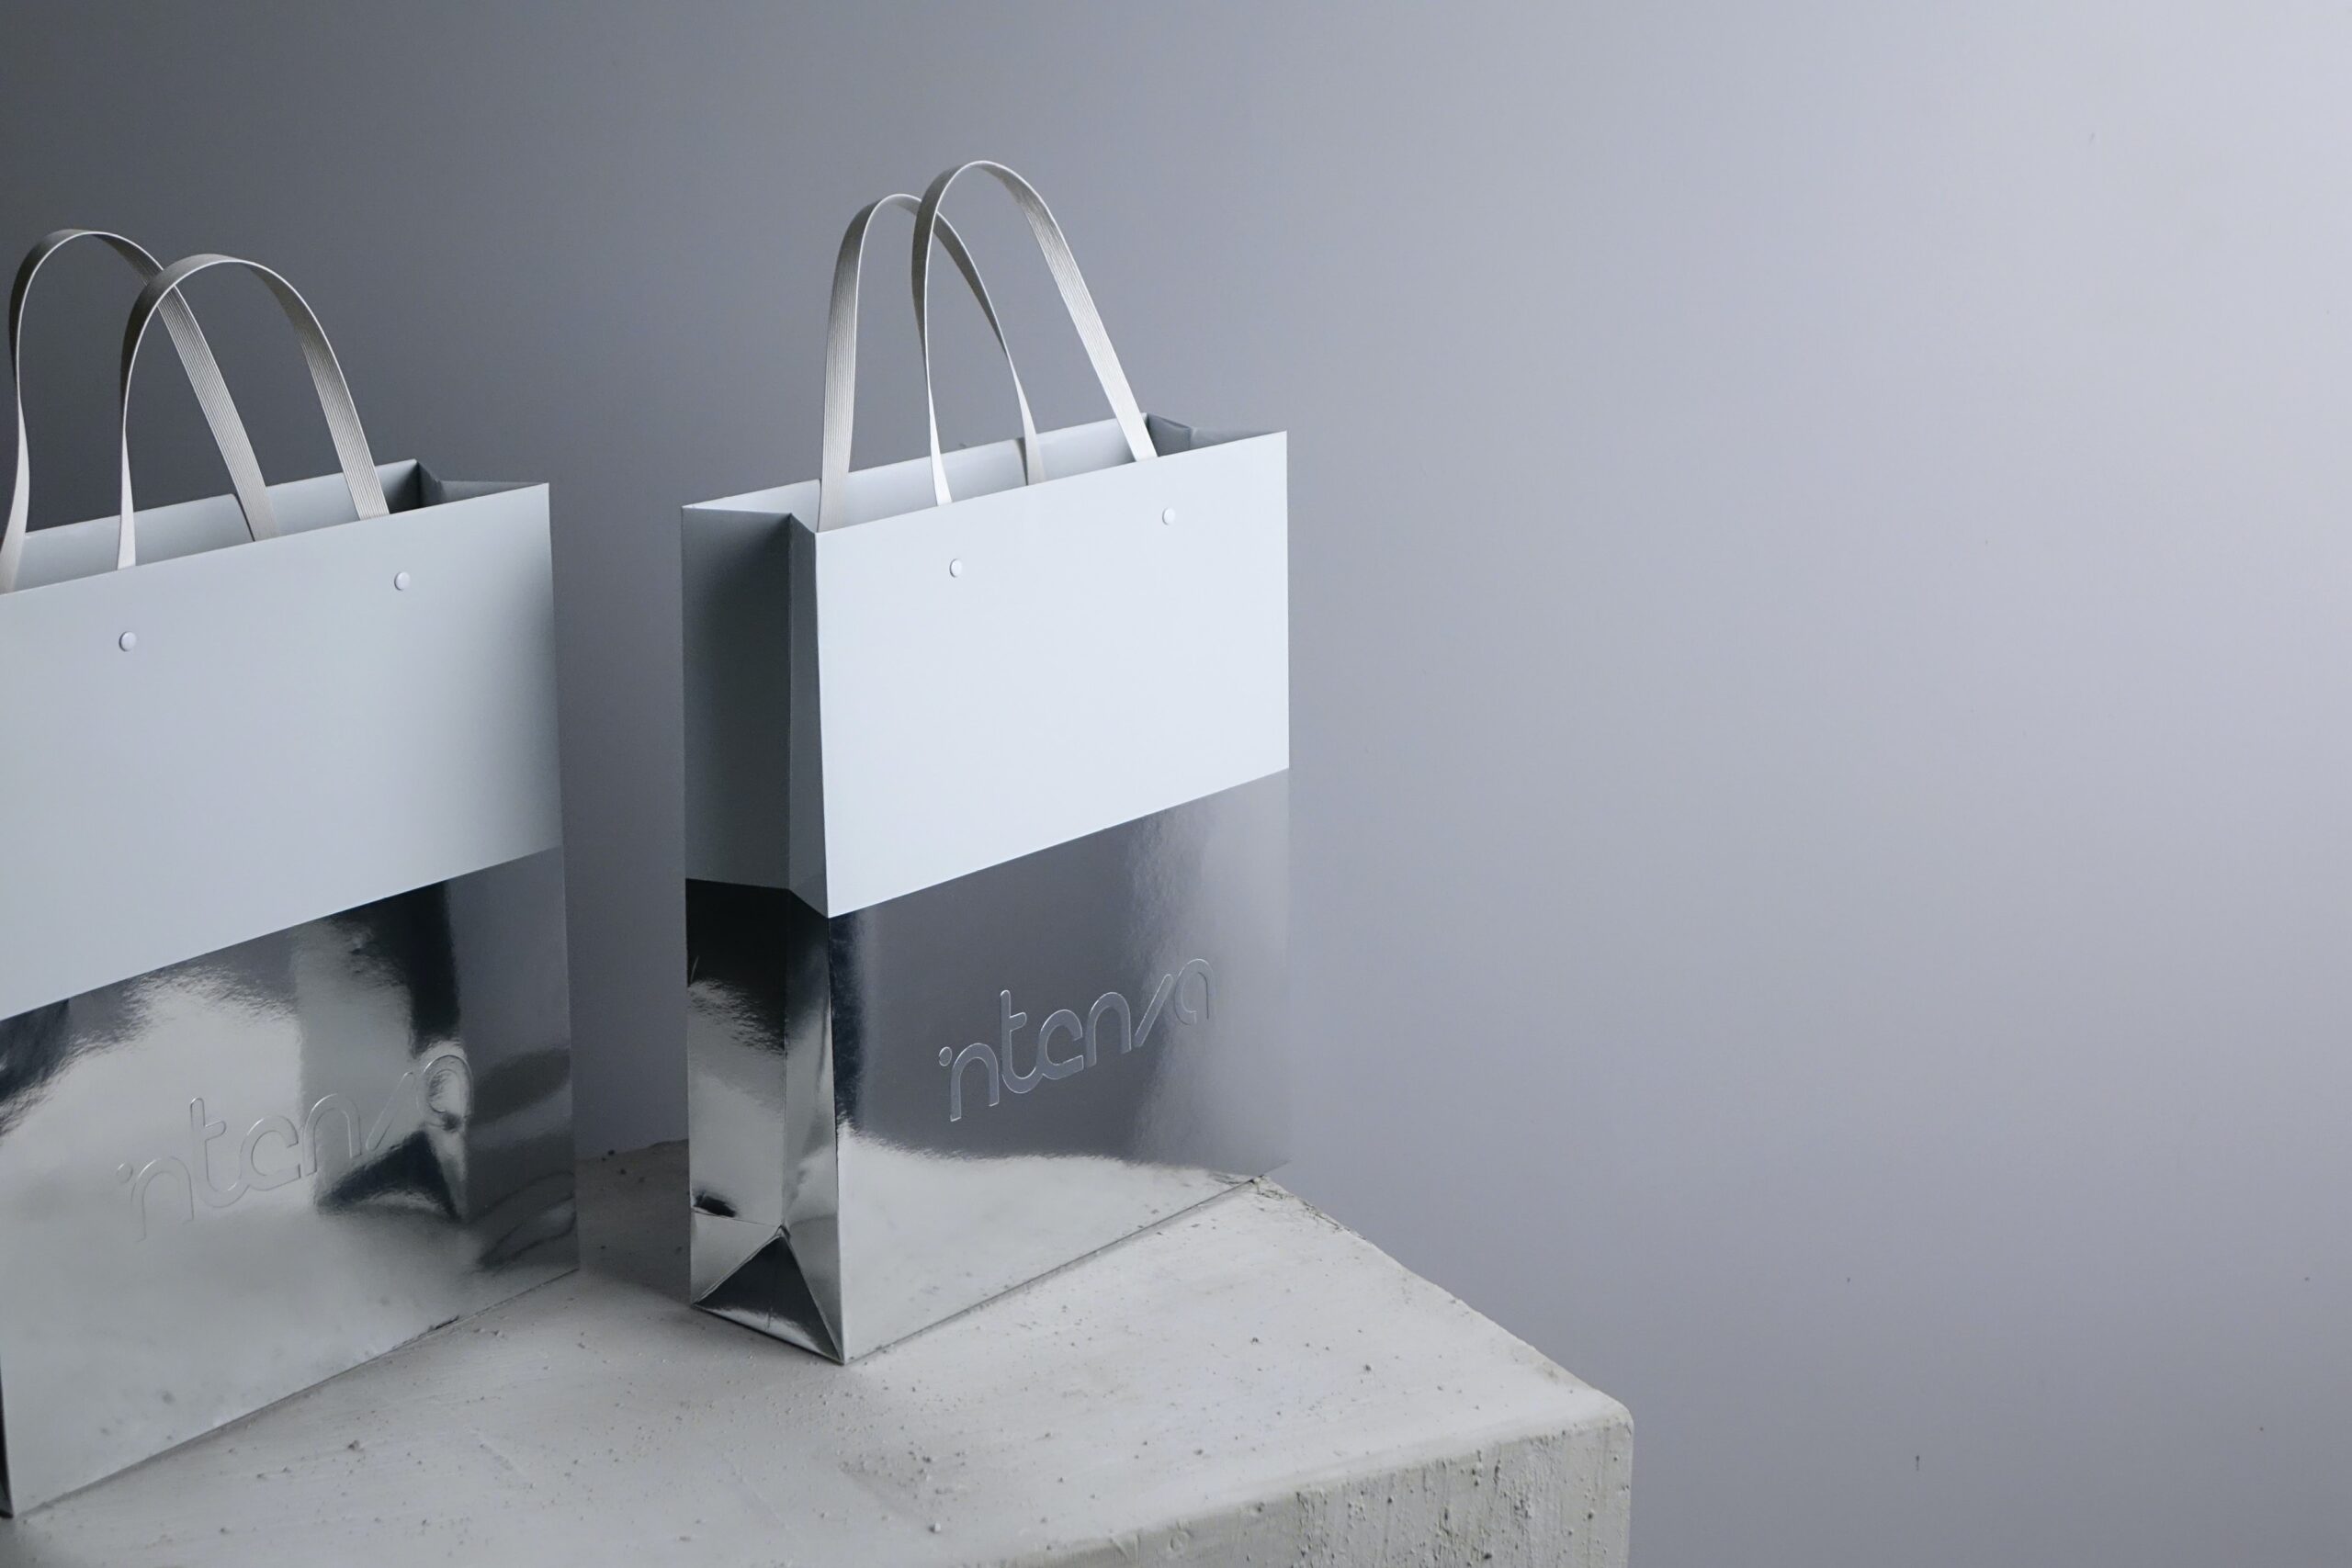
Show them who’s boss

These popular print effects really give your print a fresh, contemporary look. Stand-alone, or combined with another print finishing technique, like foil stampings, ‘bossed designs ooze style and sophistication.

So, which to use, and when?

It really does come down to preference.

Embossing results in a three-dimensional effect that emphasizes a particular area of your design. People often emboss a company logo, a custom illustration, initials, or a pattern. Embossing is commonly found on business cards, greeting cards, invitations, and company literature. But it’s not just paper that can be embossed. Other materials, including wood, leather, metal, and fabric.

The same goes for debossing. However, unlike embossing, debossing doesn’t interfere with the back of your print piece. That means you can work with both sides of your print. The techniques can also be used in conjunction with one another.

Not all images emboss well, so here are a few hints and tips to consider, that will help you save money, and time.

  • Start with vector art for you final design. Vector art follows mathematical rules that enable it to be sized up or down without compromising quality.
  • Select the ideal section of your design to emboss. There are no hard-and-fast rules, but embossing and debossing looks best when it’s used as an accent. Text, initials, logos, an image or a small pattern or embellishment work best with embossing. Use of a repetitive element, to create a pattern, can also work well on small print items, such as a business card, or invitation.
  • Keep it simple. The finishing technique adds dimension, and looks best when used to effect on simple artwork. Artwork that’s designed to appear three-dimensional, shaded, or coloured, has the potential to appear distorted if embossed.
  • Multi-level embossing brings its own challenges. Save deep embossing for larger sections of artwork, to avoid tearing.
  • Use a heavier paper stock, where possible. Heavier paper stock highlights the depth and detail of embossed images in greater contrast.

Embossing or debossing will help create printed pieces that people will want to pick up. Eye-catching, finger-tempting, memorable marketing: boss. Contact us today on 01625 870000.


© 2023 Galloways Printers Limited. All Rights Reserved | Registered Office: Malcolm House, First Avenue, Poynton, Cheshire, SK12 1YJ | Registered No: 00174272
Privacy Notice | Cookie Notice (Manage Consent) | Sitemap | Terms and Conditions | Core Labour Requirements Policy Statement | Credit application form